Getting into wood carving can feel a bit overwhelming at first, but it's really rewarding once you dive in. The key is to start simple. Don't worry about making a masterpiece right away. Focus instead on learning the basics and enjoying the process.
First things first—get your hands on some decent tools. A good starter set should include a few carving knives and maybe a whittling knife. Look for tools that fit well in your hand. Comfort matters when you’re working on a project for a while. You can find affordable sets that work just fine for beginners.
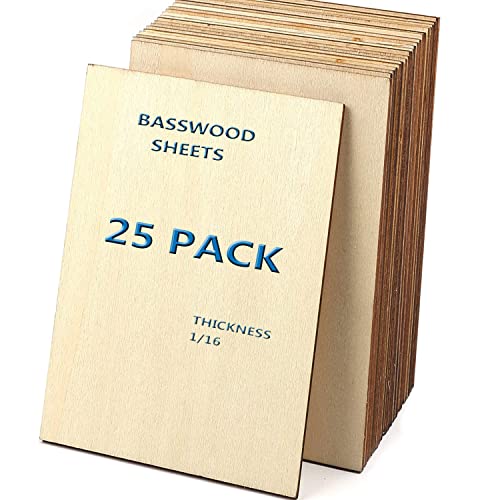
Next, pick the right wood. Basswood is a super popular choice since it's soft and easy to carve. It'll take your tools well and doesn’t give off a strong smell. Just grab a few blocks or sheets from your local craft store and get ready to practice!
Before you carve, sketch out your design on paper first. This helps you visualize what you want to create. Once you’ve got a plan, lightly pencil your design onto the wood. It’s much easier to change things up at this stage than after you've started carving.
And remember, take your time! Start with light cuts and gradually work your way deeper. If you feel resistance, stop! You might be pushing too hard. Relax and enjoy each moment. Your skills will improve as you keep practicing, and before you know it, you’ll be making cool projects you can be proud of.
Choosing the Right Tools for You
Getting started with wood carving can be a little overwhelming, especially when it comes to choosing the right tools. Don’t worry! You don’t need every tool out there to create beautiful pieces. Start with the basics, and you’ll be set for your carving journey.
Here are the essential tools you should consider:
It’s tempting to buy a full set, but let’s keep it simple. Focus on the tools that fit your projects and your style. You can always add to your collection as you gain more experience and discover what you love to carve.
Also, consider the type of wood you’ll be carving. Softer woods like pine or basswood are great for beginners. They’re easier to work with and give you a chance to practice your techniques without too much resistance.
Essential Techniques Every Carver Should Know
When you dive into wood carving, a few essential techniques can make a world of difference. First up is the grip. How you hold your tools matters. A proper grip gives you better control and lets you make those precise cuts. Experiment with different grips until you find one that feels right for you.
Next, let’s talk about strokes. You’ll want to practice straight, curved, and circular strokes. Each type of stroke serves a different purpose, whether you're shaping the wood or adding details. Start slow and steady. Once you get the hang of it, speeds can pick up, but don’t rush at the beginning.
Don’t forget about your tool maintenance. Keeping your carving knives sharp makes a big difference. A dull blade is not only frustrating but also unsafe. Regularly hone your tools with a whetstone or a strop. This will keep your edges keen and ready for your next project.
Lastly, get comfortable with wood selection. Each type of wood behaves differently. Softer woods like pine are beginner-friendly, while harder woods like oak require more effort. Test a couple of different types to see which you like working with best.
Caring for Your Wood Carving Projects
First, always use a soft, dry cloth to wipe off dust and dirt. This simple step helps prevent scratches and keeps your carvings looking fresh. If your piece needs a little extra love, use a slightly damp cloth, but make sure to dry it quickly. Wood doesn’t like staying wet!
When it comes to finishes, oils and waxes can really enhance the natural beauty of your wood. Applying a thin coat of mineral oil or beeswax can protect the wood and give it a nice glow. Just remember to reapply periodically, especially if the piece gets handled a lot.
Avoid putting your carvings in direct sunlight or humid areas. Both can cause the wood to warp or fade. Instead, choose a cool, dry spot for display. If you notice any cracks forming, don’t panic! A bit of wood glue can help. Just apply it carefully and clamp the area until it dries.
Lastly, if you want to keep your carving looking its best, avoid using harsh chemicals for cleaning. Stick to gentle solutions made for wood. Your projects deserve that special care, and with a little effort, they can stay beautiful for years to come!